Introduction
Homemade vanilla nut granola is the perfect way to start your day with something wholesome and delicious. It’s crunchy, flavorful, and surprisingly easy to make. Plus, it’s totally customizable, so you can tweak it to match your taste. Whether you’re rushing out the door or enjoying a slow morning, granola fits right in. Pair it with yogurt, milk, or eat it on its own—it’s always satisfying. Unlike store-bought options, you know exactly what’s going into your batch, which means no unwanted preservatives or extra sugars. If you’re ready to upgrade your breakfast game with a simple yet impressive recipe, this granola has got you covered. Trust me, once you try it, you’ll never want the packaged stuff again!
What Makes Vanilla Nut Granola a Perfect Breakfast Choice?
Vanilla nut granola is hands-down one of the best breakfast choices, and here’s why. First, it’s loaded with wholesome ingredients like oats, nuts, and natural sweeteners that provide lasting energy to fuel your morning. Whether you’re someone who prefers a light breakfast or a hearty one, granola fits perfectly. You can sprinkle it on yogurt for a quick meal, pair it with milk for a classic combo, or even snack on it straight out of the jar. Plus, it’s packed with fiber and healthy fats, keeping you full and satisfied for hours. Unlike sugary cereals, it won’t leave you with a mid-morning crash. Also, the subtle hint of vanilla gives it that warm, cozy flavor that feels like a treat. With so many ways to enjoy it and so much flexibility to customize, vanilla nut granola easily earns its spot as a breakfast favorite every time.
Essential Ingredients for Vanilla Nut Granola
Oats: The Nutritious Base
Oats form the heart of this Vanilla Nut Granola Recipe. Rolled oats are the best choice because they hold their shape during baking and give your granola that perfect chewy-crunchy texture. They’re also packed with fiber, making them a great way to start your day on a healthy note.
Variety of Nuts for Texture and Flavor
When it comes to nuts, this Vanilla Nut Granola Recipe is all about variety. Almonds, pecans, and walnuts each add their own unique flavor and crunch. You can chop them for smaller pieces or leave them whole for a bold, nutty bite. Either way, they’re a delicious addition.
Sweeteners: Honey, Maple Syrup, and Alternatives
The sweetener is what brings everything together in this Vanilla Nut Granola Recipe. Honey or maple syrup are classic choices that not only add natural sweetness but also help the granola stick together in those delightful clusters. If you’re experimenting, agave or other alternatives work too!
Optional Add-ins: Coconut, Seeds, and Dried Fruits
This Vanilla Nut Granola Recipe is your chance to get creative. Shredded coconut adds a tropical flair, seeds like chia or flax boost the nutritional value, and dried fruits like cranberries or raisins provide pops of sweetness. Just remember to add dried fruits after baking to keep them from burning.
Tools and Equipment Needed
Mixing Bowls and Measuring Cups
To get started with this Vanilla Nut Granola Recipe, you’ll need a few essential tools, starting with a large mixing bowl. This is where all your delicious ingredients come together, so having enough space to stir everything is key. You’ll also want measuring cups on hand to make sure you get the right ratios for that perfect balance of flavors. While granola is forgiving, using precise measurements helps keep everything consistent and ensures each batch turns out amazing.
Baking Sheets and Parchment Paper
Next up, grab a rimmed baking sheet—this is where your granola will bake to golden perfection. Lining the sheet with parchment paper is a must, as it prevents sticking and makes cleanup much easier. Trust me, you’ll thank yourself later. Plus, the parchment helps spread the mixture evenly, which is important for achieving that signature crunch. With the right tools, you’re already halfway to creating the perfect Vanilla Nut Granola Recipe.
Step-by-Step Instructions to Make Vanilla Nut Granola

Preparing the Dry Ingredients
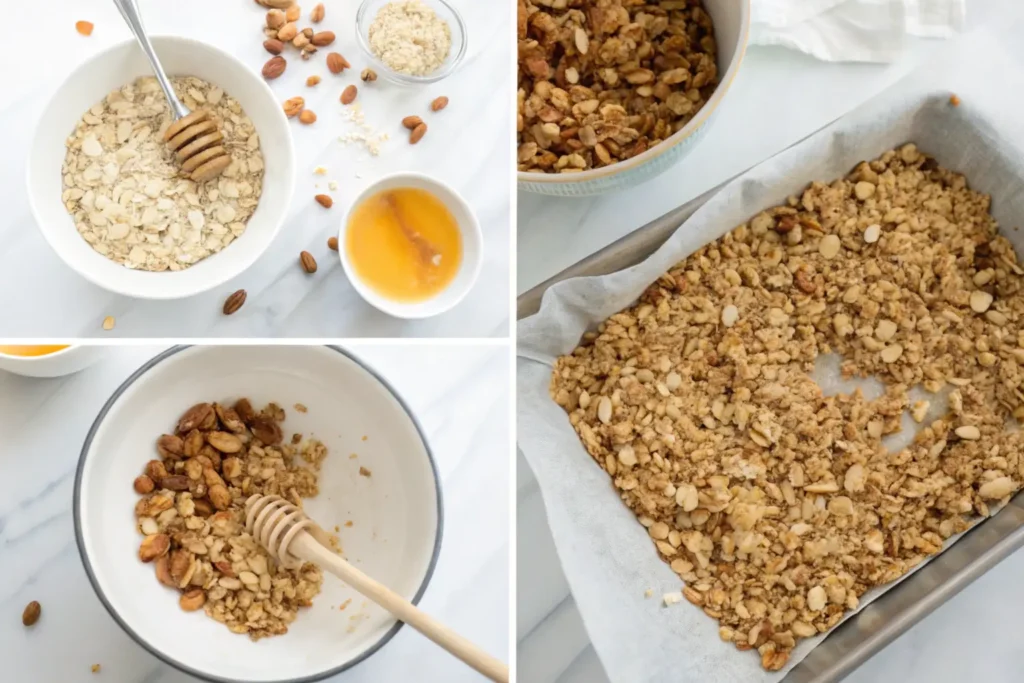
Start by grabbing a large mixing bowl. Add your oats, chopped nuts, and any seeds or spices you want to include, like a pinch of cinnamon. Stir everything together to make sure the flavors are evenly distributed before adding the wet ingredients.
Crafting the Sweet and Flavorful Binder
In a smaller bowl, whisk together your sweetener of choice—honey or maple syrup works great—with a splash of vanilla extract and a little oil. The oil helps the granola get that golden, toasty finish. If you like a hint of saltiness, toss in a pinch of salt here too. Mix it well until it’s smooth and ready to coat the dry ingredients.
Mixing and Combining Everything Together
Pour the sweet mixture over your dry ingredients. This is where it gets fun. Use a spoon or your hands (yes, it gets sticky, but it’s worth it) to make sure every piece is coated. Don’t rush—this step makes sure you get those tasty clumps that everyone loves in granola.
Baking for the Perfect Crunch
Spread the granola evenly onto a parchment-lined baking sheet. Bake it in a preheated oven at 325°F for about 20-30 minutes. Stir it every 10 minutes to avoid burning and to ensure an even crunch. Once it’s golden brown and your kitchen smells amazing, take it out and let it cool completely. Trust me, the crunch gets even better as it cools.
Customization Tips for Your Granola
Adjusting Sweetness Levels
If you prefer a less sweet granola, you can cut back on the honey or maple syrup. On the flip side, if you’ve got a sweet tooth, feel free to drizzle a little extra sweetener before baking—it caramelizes beautifully in the oven.
Substituting Nuts and Add-ins
This recipe is super flexible, so use whatever you have on hand. Swap almonds for cashews or try adding sunflower seeds instead of chia. If you’re avoiding nuts altogether, shredded coconut and pumpkin seeds are excellent replacements that still give a nice crunch.
Adding Unique Flavors
Take your granola to the next level by incorporating flavors inspired by desserts like What is Churro Cheesecake Made Of?. The cinnamon and sugar profile of churro cheesecake can be an exciting addition.
Storage and Shelf-Life of Homemade Granola
Best Practices for Freshness
Once your granola has completely cooled, store it in an airtight container or a resealable bag. Keep it in a cool, dry spot like your pantry, and it’ll stay fresh for up to two weeks. Pro tip—add a small piece of parchment paper inside the container to help absorb any excess moisture.
Freezing Granola for Longer Use
Did you make a big batch? No problem. Granola freezes wonderfully. Pack it into a freezer-safe bag, squeeze out as much air as possible, and freeze it for up to three months. When you’re ready to use it, just let it thaw at room temperature for a few hours—it’ll taste just as good as the day you made it.
Health Benefits of Vanilla Nut Granola
Packed with Essential Nutrients
Homemade vanilla nut granola is more than just a tasty breakfast. It’s full of nutrients like fiber, protein, and healthy fats from the oats and nuts. These nutrients help keep you feeling satisfied and energized throughout the day. Plus, it’s a great way to start your morning with real, wholesome ingredients.
Low in Processed Sugars
Unlike store-bought granola, which can be loaded with unnecessary sugars, making your own means you control the sweetness. Using natural sweeteners like honey or maple syrup keeps it simple and avoids those sneaky additives you don’t need in your diet.
Creative Serving Ideas
Granola with Yogurt and Fresh Fruits
Layer your granola with creamy yogurt and fresh fruits like berries or banana slices for a breakfast parfait that looks as good as it tastes. It’s quick, refreshing, and packed with flavor and texture.
Pairing with Desserts
Granola isn’t just for breakfast! Try sprinkling it over desserts like Churro Cheesecake for an unexpected crunch and a delightful flavor pairing.
Topping for Smoothie Bowls
Sprinkle a handful of granola over your favorite smoothie bowl for some extra crunch. The vanilla and nut flavors pair perfectly with fruity or chocolatey smoothies, adding the perfect finishing touch.
Enjoying as a Snack or Cereal
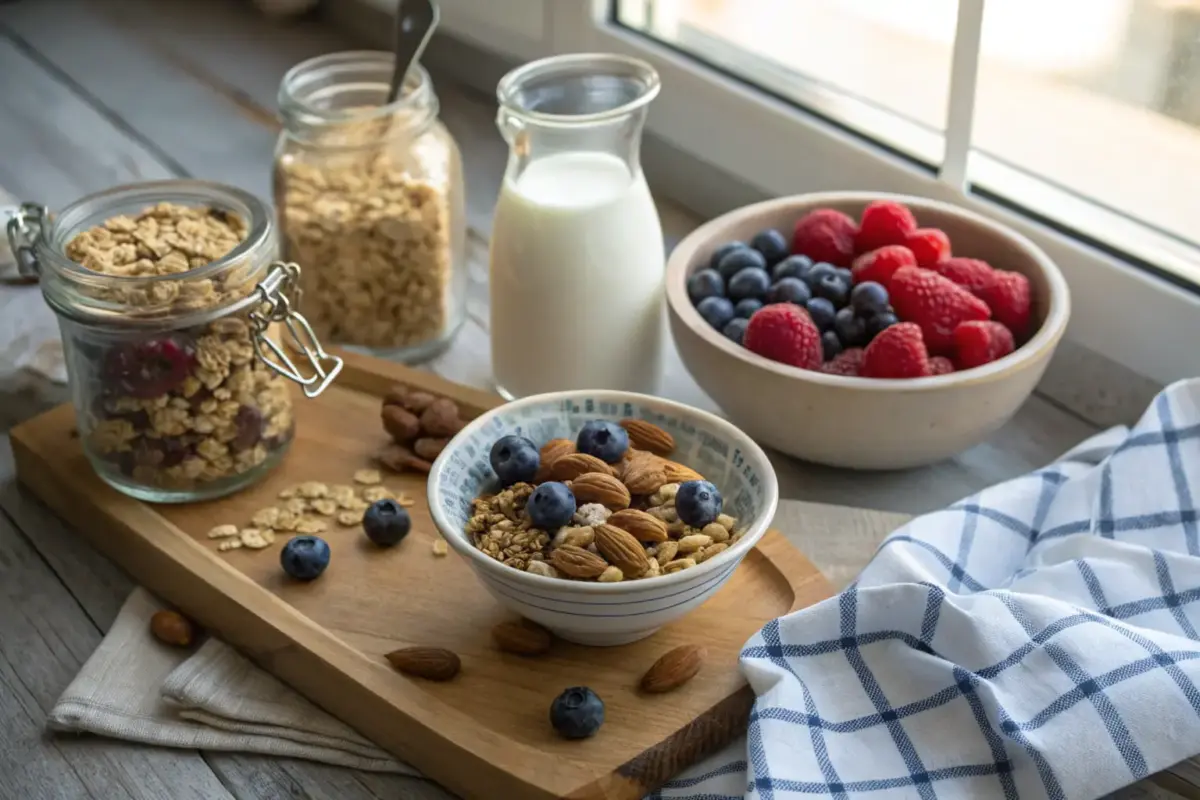
Let’s be honest, sometimes you just want to grab a handful and snack on it straight from the jar. It’s also fantastic with a splash of milk as a simple cereal option. However you enjoy it, granola is always a win.
Common Mistakes to Avoid When Making Granola
Over- or Underbaking
Baking granola can be tricky if you’re not careful. Overbaking can make it taste burnt, while underbaking leaves it soft and chewy instead of crisp. The key is to bake it low and slow, stirring occasionally, and pulling it out once it turns golden brown.
Uneven Coating of Ingredients
If the sweetener and oil mixture isn’t evenly distributed, some parts of your granola might be dry while others are too sticky. Take your time mixing the wet and dry ingredients so every piece gets coated evenly.
Variations of Vanilla Nut Granola Recipes
Cinnamon Vanilla Granola
Adding a generous sprinkle of cinnamon to your granola mix gives it a warm, cozy flavor. It’s perfect for fall mornings or whenever you’re craving a little extra spice.
Honey Nut Granola
Swapping maple syrup for honey and using a mix of your favorite nuts creates a classic honey nut granola that’s irresistibly sweet and crunchy. This version is great for pairing with fresh fruit or milk.
Gluten-Free and Vegan Options
Making a gluten-free granola is simple. Use certified gluten-free oats and skip any ingredients that might have gluten. For a vegan version, opt for maple syrup or agave instead of honey. These swaps keep the recipe inclusive without sacrificing taste.
FAQs About Homemade Granola
What ingredient makes granola stick together?
The key to clumpy granola is the binder. Ingredients like honey, maple syrup, or even almond butter help the granola stick together as it bakes. Pressing the mixture down firmly on the baking sheet before putting it in the oven also helps create those delicious clusters.
Why are homemade granola not crunchy?
If your granola isn’t crunchy, it might be because you didn’t bake it long enough or your oven temperature was too low. Stirring too often during baking can also prevent those crispy clusters from forming. Letting the granola cool completely after baking is crucial for that crunchy texture.
What are the ingredients in Trader Joe’s vanilla almond granola?
Trader Joe’s vanilla almond granola typically contains rolled oats, almonds, cane sugar, natural vanilla flavor, and oil. Making your own version lets you control the sweetness and add extra ingredients like seeds or dried fruits.
Why does my homemade granola taste bitter?
Bitter granola is usually the result of overbaking or burning the nuts and sweeteners. Nuts can scorch quickly, so keep an eye on the oven and stir the granola regularly. Using fresh ingredients also helps avoid bitterness.
Conclusion
Homemade vanilla nut granola recipe is the ultimate breakfast choice, offering the perfect blend of flavor, nutrition, and crunch. Making your own batch ensures you’re using wholesome ingredients while avoiding unnecessary additives. Whether you enjoy it with milk, as a topping for yogurt, or as a quick snack, this granola is incredibly versatile and always satisfying. Plus, it’s easy to customize—adjust the sweetness, swap in your favorite nuts, or add dried fruits for extra flavor. The process is simple, but the result is a granola that’s fresh, flavorful, and made with love. Once you’ve tried this recipe, it’s sure to become a staple in your kitchen. After all, there’s nothing better than starting your day with something delicious, homemade, and packed with all the good stuff to keep you energized. This granola hits every note just right.


3 thoughts on “Vanilla Nut Granola Recipe: A Simple and Tasty Breakfast Idea”