Introduction to White Chocolate Dipping
White chocolate dipping is one of those simple yet elegant touches that can take desserts to the next level. Whether you’re coating strawberries, cookies, or even pretzels, this creamy, sweet coating adds a delicious layer of flavor and visual appeal. And the best part? It’s not as hard as it might seem! With a little guidance, you’ll be making professional-looking desserts in no time.
In this first part of our guide, we’ll cover why white chocolate is a favorite for dipping and how you can use it to make your desserts pop. Whether you’re interested in making classic White Chocolate Covered Pretzels or exploring other creative uses, let’s get started!
The Appeal of White Chocolate for Dipping
White chocolate stands out because of its rich, buttery sweetness and smooth texture. Unlike milk or dark chocolate, it has a milder flavor that pairs well with a wide range of foods. From tart fruits like raspberries to crunchy treats like pretzels, white chocolate creates a perfect balance.
Plus, let’s face it—white chocolate looks fancy. Its clean, glossy finish makes anything dipped in it look like it came straight out of a bakery window. If you’re looking to impress at a party or just make snack time extra special, white chocolate dipping is the way to go.
Key Uses for White Chocolate Dip in Desserts
What can you dip in white chocolate? Honestly, the options are endless, but here are a few fan favorites:
- Fruits: Strawberries, bananas, and apple slices are classics.
- Cookies: Oreos, shortbread, and biscotti all taste amazing with a white chocolate coating.
- Snacks: Pretzels, marshmallows, and even popcorn get a gourmet twist when dipped in white chocolate.
- Holiday Treats: Candy canes, gingerbread cookies, and festive shapes make for great seasonal gifts.
Of course, you’re not limited to this list. With a bit of creativity, you can use white chocolate dipping to bring all kinds of ideas to life. Trust me, once you start, it’s hard to stop!
If you’re feeling adventurous, consider pairing your dipping adventures with desserts like a Churro Cheesecake or exploring more cultural flavors like those found in a Mexican Cheesecake.
Ingredients Needed for White Chocolate Dipping
Before you dive into the process, it’s important to gather the right ingredients. The quality of your ingredients will have a big impact on your final results, so choose wisely!
Choosing High-Quality White Chocolate
Here’s the thing—white chocolate isn’t all created equal. You want to look for a high-quality brand that contains real cocoa butter. Many cheaper options use vegetable oils instead, which can affect both flavor and texture. If you’re unsure, check the ingredient list for “cocoa butter” as a primary ingredient.
Baking chips are convenient, but if you’re going for a truly smooth finish, opt for white chocolate bars. Chop them into small, even pieces for easier melting.
Optional Additives for Flavor and Texture
While white chocolate is delicious on its own, you can jazz it up with a few simple additions:
- Flavor Extracts: Vanilla, almond, or even peppermint can add a unique twist.
- Food Coloring: Use oil-based or powdered food coloring to create vibrant shades without altering the texture.
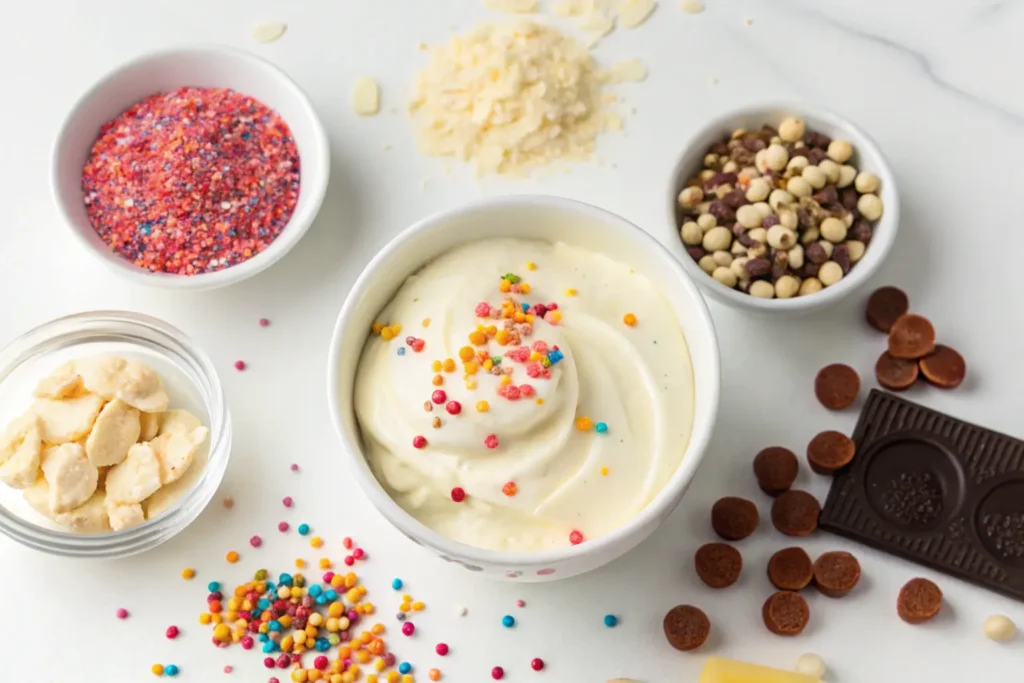
- Sprinkles and Toppings: From crushed nuts to edible glitter, these extras can add texture and visual appeal.
These optional ingredients aren’t necessary, but they can make your white chocolate dipping even more fun and flavorful!
Tools and Equipment for Preparing White Chocolate Dip
Good tools can make all the difference when working with white chocolate. Let’s go over the essentials you’ll need to get started.
Essential Kitchen Tools for Melting Chocolate
You don’t need a fancy setup to melt white chocolate, but a few basic tools are non-negotiable:
- Double Boiler: This helps you melt chocolate evenly without burning it. If you don’t have one, a heatproof bowl over a pot of simmering water works just as well.
- Microwave-Safe Bowl: For a quicker option, a sturdy, microwave-safe bowl is a must.
- Silicone Spatula: A good spatula makes stirring easier and prevents waste.
Recommendations for Mixing and Heating Equipment
In addition to the basics, you might want to have these on hand:
- Thermometer: Keeping an eye on the temperature is key to avoiding overheating.
- Parchment Paper: For setting dipped items without sticking.
- Skewers or Forks: These make dipping easier and less messy.
Having the right tools not only makes the process smoother but also helps you achieve that perfectly glossy, professional-looking finish.
Preparing the White Chocolate
Now that you’ve gathered your ingredients and tools, it’s time to start melting the white chocolate. Don’t worry, I’ve got you covered with step-by-step instructions that are easy to follow. Whether you’re a beginner or a seasoned baker, these tips will help you get smooth, creamy results every time.
Step-by-Step Guide to Melting White Chocolate

Melting white chocolate isn’t complicated, but it does require a little patience. Here are two common methods to get the job done:
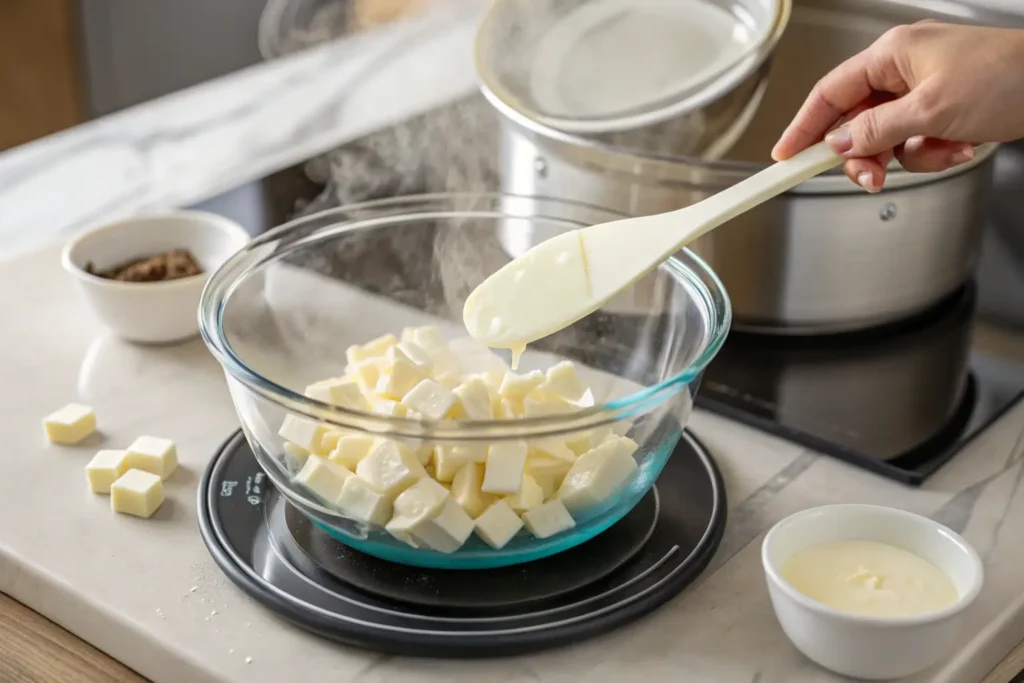
Using a Double Boiler
The double boiler method is a classic for a reason—it gives you better control over the heat. Here’s how to do it:
- Fill a pot with about an inch of water and bring it to a gentle simmer.
- Place a heatproof bowl on top, making sure it doesn’t touch the water.
- Add your chopped white chocolate to the bowl and stir occasionally with a spatula.
- Once the chocolate is fully melted and smooth, remove it from the heat immediately to prevent scorching.
This method might take a little longer, but it’s worth it for that silky texture.
Microwaving for Quick Melting
If you’re short on time, the microwave can be a lifesaver. Here’s how to melt white chocolate in a microwave without ruining it:
- Place the chopped white chocolate in a microwave-safe bowl.
- Heat it on medium power in 15-20 second intervals.
- After each interval, stir the chocolate thoroughly.
- Repeat until the chocolate is melted and smooth, being careful not to overheat it.
Remember, white chocolate is delicate and burns easily, so keep a close eye on it!
Tips for Achieving Smooth and Creamy Chocolate
To get that perfectly glossy finish, keep these tips in mind:
- Always chop the chocolate into small, even pieces for quicker and more even melting.
- Stir frequently to distribute heat and prevent hot spots.
- Avoid adding water, as even a drop can cause the chocolate to seize. If this happens, don’t panic! Adding a small amount of vegetable oil can sometimes save it.
With these tricks up your sleeve, you’ll be ready to dip like a pro!
Adjusting the Consistency of White Chocolate
Techniques for Thinning White Chocolate for Dipping
If your melted chocolate feels a bit too thick, you can thin it out with these methods:
- Add a Fat: Stir in a teaspoon of vegetable oil, coconut oil, or melted cocoa butter. Add it a little at a time until the desired consistency is reached.
- Warm It Gently: Sometimes chocolate thickens as it cools. A quick reheat over low heat can help restore its fluidity.
Keep in mind that thinning chocolate too much can make it harder to set, so aim for a consistency that coats evenly without being runny.
Avoiding Overheating and Burnt Chocolate
Overheating is one of the most common mistakes when working with white chocolate. To avoid this:
- Use low heat, whether you’re using a double boiler or a microwave.
- Remove the chocolate from the heat as soon as it’s mostly melted, then stir until the remaining chunks dissolve.
- Work in small batches if you’re new to the process—this makes it easier to control the temperature.
Burnt chocolate can’t be saved, so take your time and be cautious!
Dipping Techniques for Various Foods
Now that your melted white chocolate is perfectly prepared, it’s time to dive into the fun part—dipping! To ensure a flawless finish, here are some handy tips for working with various foods. Whether you’re dipping fruits, cookies, or pretzels, these suggestions will help you achieve a professional touch every time.
Ideal Fruits for Dipping in White Chocolate
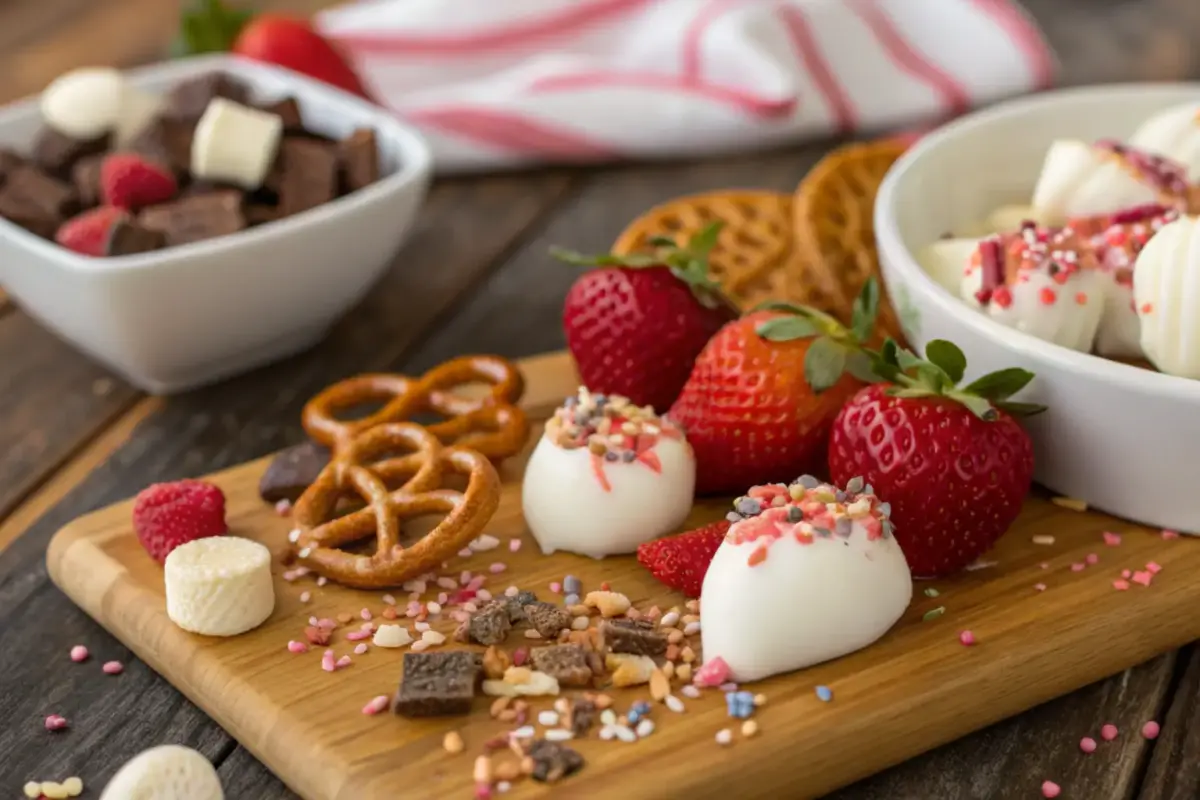
Fruits are a natural choice for dipping. To get the best results, follow these steps:
- Wash and thoroughly dry the fruit before dipping. Any moisture can cause the chocolate to seize or not adhere properly.
- Hold the fruit by its stem or use a skewer for easy handling.
- Dip each piece halfway into the chocolate, then let the excess drip off before placing it on parchment paper to set.
Popular choices include strawberries, apple slices, and even pineapple chunks for a tropical twist.
How to Dip Cookies and Pretzels for a Perfect Finish
For cookies and pretzels, the process is just as simple:
- For cookies, consider dipping just one half to create a contrast between the chocolate and the cookie.
- For pretzels, use tongs or your fingers to dip and coat evenly. The salty-sweet combo is always a hit!
- Set them on parchment paper and sprinkle with toppings like crushed nuts or sprinkles while the chocolate is still wet.
These treats are great for parties, snacks, or even gifting.
Creative Ideas: Marshmallows, Nuts, and More
Don’t stop at fruits and cookies! Try dipping:
- Marshmallows: Add colorful sprinkles or drizzle with dark chocolate for a fun twist.
- Nuts: Almonds, cashews, or pecans coated in white chocolate make for a tasty, crunchy snack.
- Popcorn: Create a sweet and salty snack mix by drizzling white chocolate over popcorn and tossing with mix-ins like dried fruit.
The possibilities are endless, so let your creativity run wild!
Enhancing White Chocolate Dip
Once you’ve mastered the basics of white chocolate dipping, it’s time to get creative. By adding a pop of color or experimenting with new flavors, you can take your treats to the next level. Let’s dive into some simple ways to make your white chocolate dip even more exciting.
Adding Color to White Chocolate

Did you know you can color white chocolate? It’s a fantastic way to match desserts to a party theme or holiday. To avoid issues with consistency, follow these tips:
- Use Oil-Based or Powdered Colors: Regular liquid food coloring can cause the chocolate to seize. Stick with options specifically designed for chocolate.
- Add Gradually: Start with a small amount of coloring and mix thoroughly before adding more.
With the right tools, you can create everything from pastel Easter treats to bold Christmas goodies.
Flavoring with Extracts and Oils
White chocolate’s mild flavor makes it an excellent base for custom creations. Here’s how to infuse your dip with delicious flavors:
- Choose Oil-Based Extracts: Vanilla, almond, or orange oil can add subtle sophistication.
- Mix in Gradually: Add just a drop or two at a time to avoid overpowering the chocolate.
These small adjustments can elevate the flavor profile of your desserts and leave your guests raving!
Storing and Reusing White Chocolate Dip
What happens if you have leftover white chocolate dip? Don’t let it go to waste! With proper storage and reheating techniques, you can reuse it for your next dessert adventure.
Proper Storage Techniques to Maintain Freshness
To keep your white chocolate dip fresh:
- Transfer it to an airtight container once it cools to room temperature.
- Store it in a cool, dry place if you plan to use it within a few days. For longer storage, refrigerate it.
Stored properly, white chocolate dip can last for up to two weeks. Just make sure to let it come to room temperature before reheating.
Reheating White Chocolate Without Affecting Quality
Reheating white chocolate can be tricky, but it’s doable if you’re careful:
- Reheat in short intervals in the microwave, stirring in between each round.
- Alternatively, use a double boiler to gently warm the chocolate while stirring constantly.
These methods will help you bring your dip back to life without compromising its smooth texture.
Troubleshooting Common Issues
Even with the best efforts, things can go wrong. Here’s how to handle some of the most common problems when working with white chocolate.
Fixing Grainy or Lumpy White Chocolate
Grainy or lumpy chocolate usually means it’s been overheated or exposed to moisture. To fix this:
- Try stirring in a teaspoon of vegetable oil or melted cocoa butter to restore its smoothness.
- If the chocolate has seized, adding a small amount of heavy cream can sometimes salvage it.
Prevention is key, so always melt your chocolate slowly and keep it dry.
Preventing White Chocolate from Hardening Too Quickly
If your white chocolate dip sets before you’re done dipping, it’s likely cooling down too fast. To avoid this:
- Work in small batches and keep the chocolate warm while dipping.
- If needed, place the bowl over warm water to maintain the right consistency.
With these tips, you’ll avoid the frustration of hardened chocolate before your creations are complete.
FAQs About White Chocolate Dipping
How to thin out chocolate for dipping?
The easiest way to thin chocolate for dipping is by adding a small amount of fat. Vegetable oil, coconut oil, or melted cocoa butter are great options. Add one teaspoon at a time, stirring thoroughly, until you reach the desired consistency.
How to make white dipping chocolate?
To make white dipping chocolate, melt high-quality white chocolate using a double boiler or microwave. Adjust the consistency if needed by adding a small amount of fat. Once smooth, it’s ready for dipping fruits, cookies, or other treats!
Which white chocolate is best for melting?
The best white chocolate for melting contains real cocoa butter, such as high-quality bars or couverture chocolate. Avoid brands with vegetable oils, as they don’t melt as smoothly or taste as good.
How do they make white chocolate?
White chocolate is made from cocoa butter, sugar, milk solids, and flavorings like vanilla. Unlike milk or dark chocolate, it doesn’t contain cocoa solids, which gives it its signature creamy color and flavor.
Conclusion
Recap of Key Tips for Making White Chocolate Dip
From choosing the best ingredients to mastering dipping techniques, making white chocolate dip is both fun and rewarding. By following the steps outlined in this guide, you’ll be ready to create stunning, delicious treats for any occasion.
Inspiring Ideas to Experiment with White Chocolate Dip
Whether you’re adding vibrant colors, unique flavors, or creative toppings, the possibilities are endless. Don’t be afraid to experiment and make the process your own. After all, the best part of making white chocolate dip is sharing your sweet creations with friends and family!


3 thoughts on “How to Make White Chocolate for Dipping? : A Complete Guide”